
Table of Contents
- Daily Maintenance Checklist for Industrial Cutting Machines
- Weekly and Monthly Inspection Schedules
- Preventative Maintenance Checklist for CNC Cutters
- Troubleshooting Common Industrial Cutting Machine Errors
- Industrial Cutting Machine Training Requirements
- Predictive Maintenance with IoT and Sensors
- OEM vs. Aftermarket Parts: Cost-Benefit Analysis
- Environmental Impact on Machine Longevity
- Operator Training and Certification Standards
- Frequently Asked Questions
Last Updated: September 23, 2026
Daily Maintenance Checklist for Industrial Cutting Machines
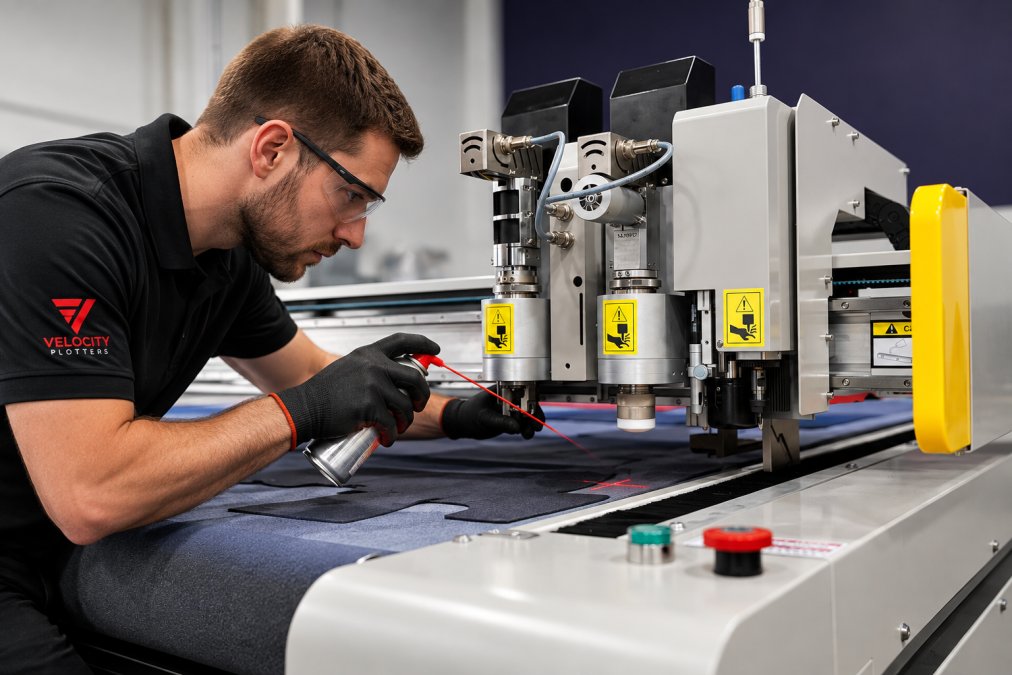
Industrial cutting machine maintenance and support starts with a consistent daily routine, because small oversights compound into expensive failures. Shops treating daily checks as optional are often the same ones calling for emergency service mid-run. A ten-minute start-of-shift inspection catches most unplanned downtime.
Run through this list before every shift:
- Wipe down the torch body and nozzle to remove dust, lint, and cutting residue.
- Check coolant levels and top off if the reservoir sits below the marked line.
- Inspect hoses for kinks or wear and confirm electrical fittings are seated.
- Test the emergency stop to verify it engages and resets correctly.
- Clear debris from the cutting bed and the path of the gantry.
Weekly and Monthly Inspection Schedules
Weekly and monthly inspections catch wear that daily checks miss. Set aside thirty minutes weekly and two hours monthly, and log every finding to spot trends before they become breakdowns.
Weekly tasks:
- Inspect the nozzle and torch body for erosion or buildup
- Verify sensor alignment on the cutting head
- Check belt tension and feed roller condition
- Confirm firmware is running the current release
Monthly tasks:
- Replace filters on schedule, not when they clog
- Check voltage stability at the panel
- Inspect lubrication lines and fittings for leaks
- Run a calibration test cut and compare it to your reference
Preventative Maintenance Checklist for CNC Cutters
The preventative maintenance checklist for CNC cutters combines daily habits with deeper service tasks that keep cutting precision stable over years of production.
Cleaning Torch and Nozzle Components
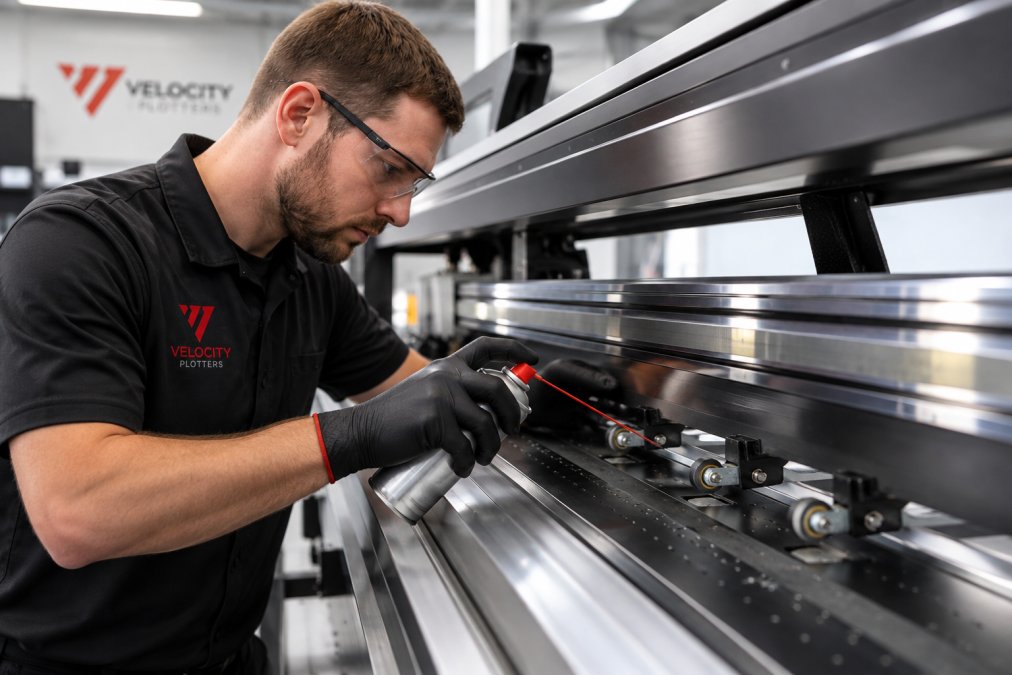
Clean torch and nozzle components after every shift, not weekly. Residue that hardens overnight changes cut geometry and accelerates wear; a clogged nozzle is a leading cause of ragged edges and wasted material.
- Disconnect power before removing the nozzle
- Use a soft brush and approved cleaner, never abrasive tools
- Inspect the orifice for deformation under good light
- Reinstall to the correct torque and recheck alignment
Lubrication and Friction Reduction
Lubrication protects the rails, bearings, and feed rollers that carry every cut. Follow the manufacturer’s interval for each point and use the specified lubricant, not a general-purpose substitute.
|
Task |
Frequency |
Owner |
Consequence of Skipping |
|---|---|---|---|
|
Nozzle cleaning |
Daily |
Operator |
Ragged cuts, wasted material |
|
Rail lubrication |
Weekly |
Operator |
Friction, premature wear |
|
Filter replacement |
Monthly |
Maintenance tech |
Overheating, voltage drift |
|
Full calibration |
Quarterly |
Service engineer |
Lost cutting precision |
Troubleshooting Common Industrial Cutting Machine Errors
Troubleshooting common industrial cutting machine errors follows one rule: diagnose before you adjust. Most operators reach for settings first, which is backwards, the error code and symptom usually point to a physical cause, and chasing software fixes for a hardware problem wastes hours.
Work through this order:
- Read the fault code and check the manual’s diagnostic table.
- Inspect consumables (nozzle, electrode, filters) for wear.
- Check for kinked hoses or loose electrical fittings.
- Verify sensor alignment and clean any optical surfaces.
- Confirm coolant levels and flow before restarting.
Industrial Cutting Machine Training Requirements
Industrial cutting machine training requirements vary by machine and employer, but the core standard is consistent: operators must be trained on the specific equipment they run, and that training must be documented. With no single federal certification, the employer verifies competence.
A practical training program covers:
- Safe operation and emergency procedures
- Daily and weekly maintenance tasks the operator owns
- Fault recognition and when to escalate
- Calibration basics and reference test cuts
- Material handling for the fabrics, leather, or composites in use
Predictive Maintenance with IoT and Sensors
Predictive maintenance with IoT and sensors moves a shop from reacting to failures to anticipating them. Instead of replacing parts on a calendar, you replace them on condition, when vibration, temperature, or current draw says a component is trending toward failure. This is the biggest gap in most cutting machine maintenance programs.
The Four Sensor Types That Matter on a Cutting Machine
You don’t need a factory-wide platform to start. Four measurements cover the highest-risk failure modes:
- Vibration (accelerometers) on spindle bearings, drive motors, and gearboxes. A bearing beginning to spall produces a rising high-frequency vibration signature weeks before it seizes. Mount the sensor on the housing, not the frame, so you capture the component rather than the floor.
- Temperature (thermocouples or IR sensors) on spindle housings, drive motors, and the control cabinet. A gradual rise over baseline usually means lubrication breakdown or a failing cooling path; a sudden spike means stop now.
- Current draw (clamp-on current transformers) on the spindle and axis drive motors. Rising current at the same load indicates mechanical drag, a binding rail, a worn bearing, or a dull consumable.
- Pressure and flow (in-line sensors) on the coolant and assist-gas lines. A dropping flow rate at constant pressure is the earliest reliable sign of a clogged filter or a partially blocked nozzle.
Setting Baselines and Alarm Thresholds
A sensor without a baseline is just a number. Establish one during a known-good run, same material, thickness, and speed, and record the steady-state value for each sensor. Then set two thresholds:
- Alert threshold, a deviation of roughly 10 to 15 percent from baseline. This triggers an inspection at the next planned break, not an immediate stop.
- Alarm threshold, a deviation of roughly 25 percent or a sustained upward trend across three consecutive shifts. This triggers a scheduled replacement before the next long run.
A Realistic Rollout Sequence
Most shops that succeed with predictive maintenance do it in stages rather than buying a platform first:
- Month 1, instrument the spindle. One vibration sensor and one temperature sensor on the main spindle, logged manually or through the machine’s existing diagnostics port.
- Month 2, add current monitoring. Clamp-on CTs on the spindle and the busiest axis drive. This is where you catch mechanical drag before it becomes a scrapped part.
- Month 3, connect the data. Feed the readings into a simple trending spreadsheet or the machine’s built-in diagnostic log. The goal is a trend line, not a dashboard.
- Month 4 onward, expand to coolant and gas. Flow and pressure sensors on the consumable side catch the failures that ruin cut quality rather than the ones that stop the machine.
What Predictive Maintenance Does Not Replace
NIST smart manufacturing research outlines how sensor data feeds into broader Industry 4.0 systems, which is where automated cutting operations are heading. A modern machine with built-in diagnostics makes the first stage easier, because condition data is already available without retrofitting third-party sensors.
OEM vs. Aftermarket Parts: Cost-Benefit Analysis
OEM versus aftermarket parts is a genuine cost-benefit decision, not a simple case of original being better. The answer depends on which component you’re replacing, what a failure costs in downtime, and whether the machine is still under warranty, the math most guides skip.
The Framework: Tier Your Components First
Before comparing prices, sort every consumable and wear part into one of three tiers. The tier, not the price tag, decides whether OEM is worth the premium.
- Tier 1, Precision-critical. Nozzles, electrodes, sensors, drive components, and anything that touches cut geometry. A tolerance deviation here shows up directly in part quality. Use OEM.
- Tier 2, Reliability-critical. Bearings, belts, filters, and lubrication fittings. A failure stops the machine but does not necessarily scrap the part. OEM is preferred; a documented aftermarket equivalent with published tolerances can work.
- Tier 3, Non-critical. Covers, fasteners, cable ties, and cosmetic panels. Aftermarket is fine as long as the supplier documents dimensions and material.
The Cost-Per-Hour Calculation
Cost per hour = (part price + installation labor + expected downtime cost) ÷ expected service hours
A worked example using round numbers, not vendor quotes:
- An OEM nozzle at a higher price that lasts 200 cutting hours and holds tolerance.
- An aftermarket nozzle at roughly half the price that lasts 120 hours and drifts out of tolerance in the last 20 of those hours, scrapping material.
Warranty and Contract Implications
This is where aftermarket parts carry hidden cost. Most warranties and service agreements condition coverage on approved components. Installing a non-approved nozzle, sensor, or drive part can void coverage for the affected system, sometimes the whole machine, if the manufacturer traces a failure to it. Before switching a Tier 1 or Tier 2 component, read the warranty language and, under a service contract, get written confirmation that the substitution is allowed.
When Aftermarket Makes Sense
Aftermarket is not a compromise in every case. It is a reasonable choice when:
- The component is Tier 3 and does not affect cut quality or safety.
- The machine is out of warranty and no service contract is in force.
- A reputable supplier publishes tolerances, material specs, and a traceable lot number.
- You can qualify the part with a test run before committing it to production.
|
Factor |
OEM Parts |
Aftermarket Parts |
|---|---|---|
|
Upfront cost |
Higher |
Lower |
|
Fit and tolerance |
Guaranteed |
Variable, verify specs |
|
Warranty impact |
Preserved |
Often voided for affected systems |
|
Best for |
Tier 1 and Tier 2 components |
Tier 3 and out-of-warranty machines |
|
Qualification needed |
None |
Test run and documented specs |
Environmental Impact on Machine Longevity
Environmental conditions quietly shorten machine life. Humidity corrodes electrical fittings, dust clogs filters and cooling paths, and temperature swings shift alignment on precision components. A machine in a climate-controlled room outlasts an identical unit on a dusty, humid floor by years.
Operator Training and Certification Standards
Operator competence is the maintenance variable most shops underestimate. A well-trained operator catches a failing bearing by sound, notices a drifting cut before it ruins a run, and knows when to stop the machine instead of pushing through. That judgment prevents more downtime than any single maintenance task.
Frequently Asked Questions
What is the recommended maintenance schedule for industrial cutting machines?
Daily tasks include checking coolant levels, inspecting the nozzle for debris, and verifying emergency stop function. Weekly, clean and lubricate rails, inspect hoses for kinks, and test sensor alignment. Monthly, replace filters, check electrical fittings, and calibrate the machine. Quarterly, perform a full axis alignment and firmware update. Following this schedule reduces downtime and extends machine life.
How do I troubleshoot common errors in automated cutting systems?
Start with the error code on the HMI. For cutting precision issues, check for loose belts or worn nozzles. If the machine stops mid-cut, inspect for kinked hoses or clogged filters. Electrical faults often trace to loose fittings or voltage instability. Always lock out power before inspecting. If the problem persists, consult the diagnostic tools in the software or contact support.
What are the OSHA safety requirements for industrial cutting machine maintenance?
OSHA requires lockout/tagout procedures during maintenance to prevent accidental startup. Ensure proper guarding is in place, and operators must wear PPE including safety glasses and gloves. Emergency stop testing must be documented. Training on safe maintenance practices is mandatory under OSHA 1910.147. Keep records of all inspections and repairs.
Why is regular calibration critical for precision cutting equipment?
Calibration ensures the cutting head moves accurately along the X, Y, and Z axes. Over time, vibration and wear cause drift, leading to miscuts and material waste. Monthly calibration checks maintain cutting precision within tolerances. Sensor alignment and axis alignment are key. Skipping calibration can result in costly rework and reduced machine longevity.
What daily maintenance tasks should operators perform on cutting tables?
Operators should wipe down the cutting surface, remove debris from the nozzle and torch body, check coolant levels, and inspect for loose electrical fittings. They should also test the emergency stop and listen for unusual noises. A daily log helps track issues. These tasks take 10-15 minutes and prevent major breakdowns.
How can preventative maintenance reduce material waste in production?
Regular maintenance keeps cutting precision high, reducing offcuts and rework. Lubrication reduces friction and component wear, ensuring consistent cuts. Calibration prevents misalignment that causes wasted material. Replacing consumables like nozzles and feed rollers on schedule avoids poor cut quality. A preventative maintenance checklist for CNC cutters can significantly reduce waste.
Cutting machine downtime rarely comes from one dramatic failure. It comes from skipped daily checks, ignored wear, and untrained operators running equipment past its limits. Velocity Plotters builds intelligent scribing and cutting systems with integrated hardware and software, world-class technical support, and the diagnostics that make preventative and predictive maintenance practical. Get started with Velocity Plotters and keep your production line cutting at full precision.




 EN_US
EN_US  ES
ES