
Last Updated: November 1, 2026
Quick Summary
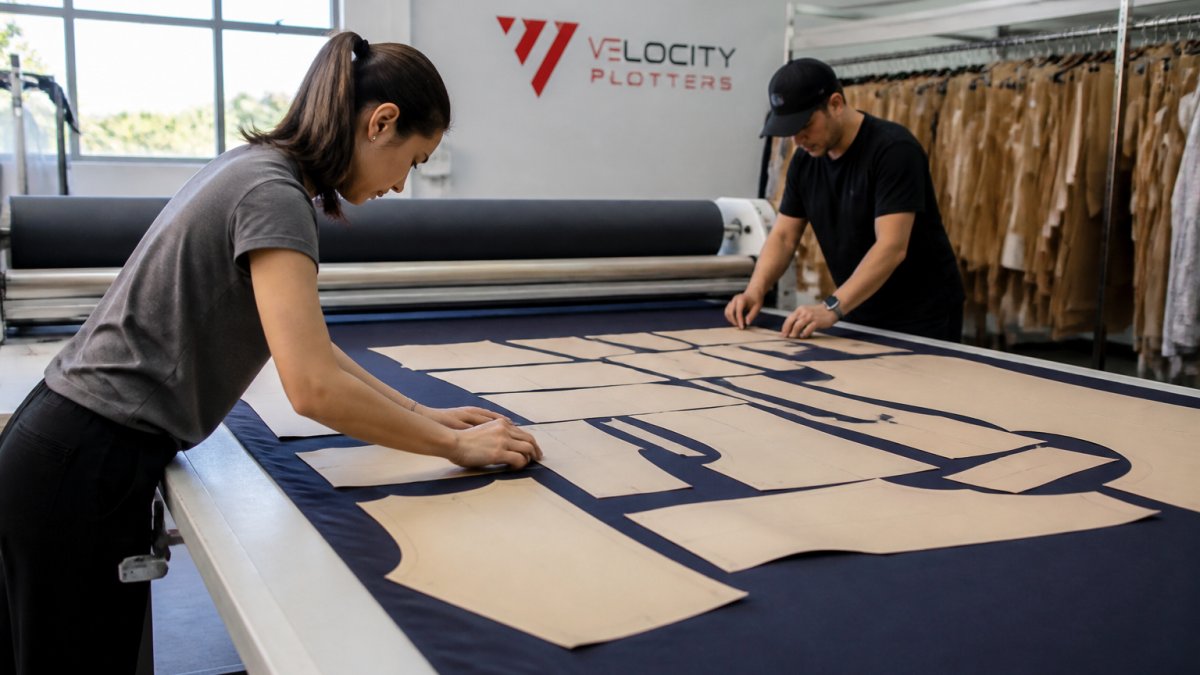
Fabric nesting arranges pattern pieces on a marker so the least material ends up as offcuts, and 25-40% of fabric used in garment production is wasted, making nesting optimization a primary mitigation strategy. Build fabric-specific constraints into every marker, then track marker efficiency and fabric utilization to confirm the savings.
- Audit end-of-roll remnants, defective yardage, marker offcuts, spread losses, recuts and sample consumption to set a waste baseline.
- Run every new style through the same seven-step nesting workflow so no step is skipped.
- Manual nesting typically lands at 15-20% fabric waste, while a well-optimized marker can reach 85% or better fabric use.
- Calculate marker efficiency as pattern piece area divided by marker area, times 100.
- Plan spreads around the nesting output, because a marker for a 40-ply spread behaves differently from single-ply.
Table of Contents
- Step 1: Audit Where Your Fabric Waste Actually Comes From
- Step 2: Build a Fabric Nesting Workflow That Starts Before the Marker
- Step 3: Compare Manual Nesting with Automated Nesting Software
- Step 4: Measure Fabric Use Rates and Marker Efficiency
- Step 5: Connect Nesting to Cutting, Stacking and Production Planning
- Request a Free Material Test Cut or Pattern Digitizing Sample
- Frequently Asked Questions
Step 1: Audit Where Your Fabric Waste Actually Comes From
Fabric nesting is the practice of arranging pattern pieces on a marker so the least material ends up as offcuts.
According to CLO Virtual Fashion’s research on reducing fabric waste, 25-40% of fabric used in garment production is wasted, and nesting optimization is a primary mitigation strategy.
Walk your floor and count these sources:
- End-of-roll remnants too short to nest economically
- Defective yardage cut around after inspection
- Marker offcuts between and around pattern pieces
Write down the square footage or weight for each source over one production run.
Step 2: Build a Fabric Nesting Workflow That Starts Before the Marker
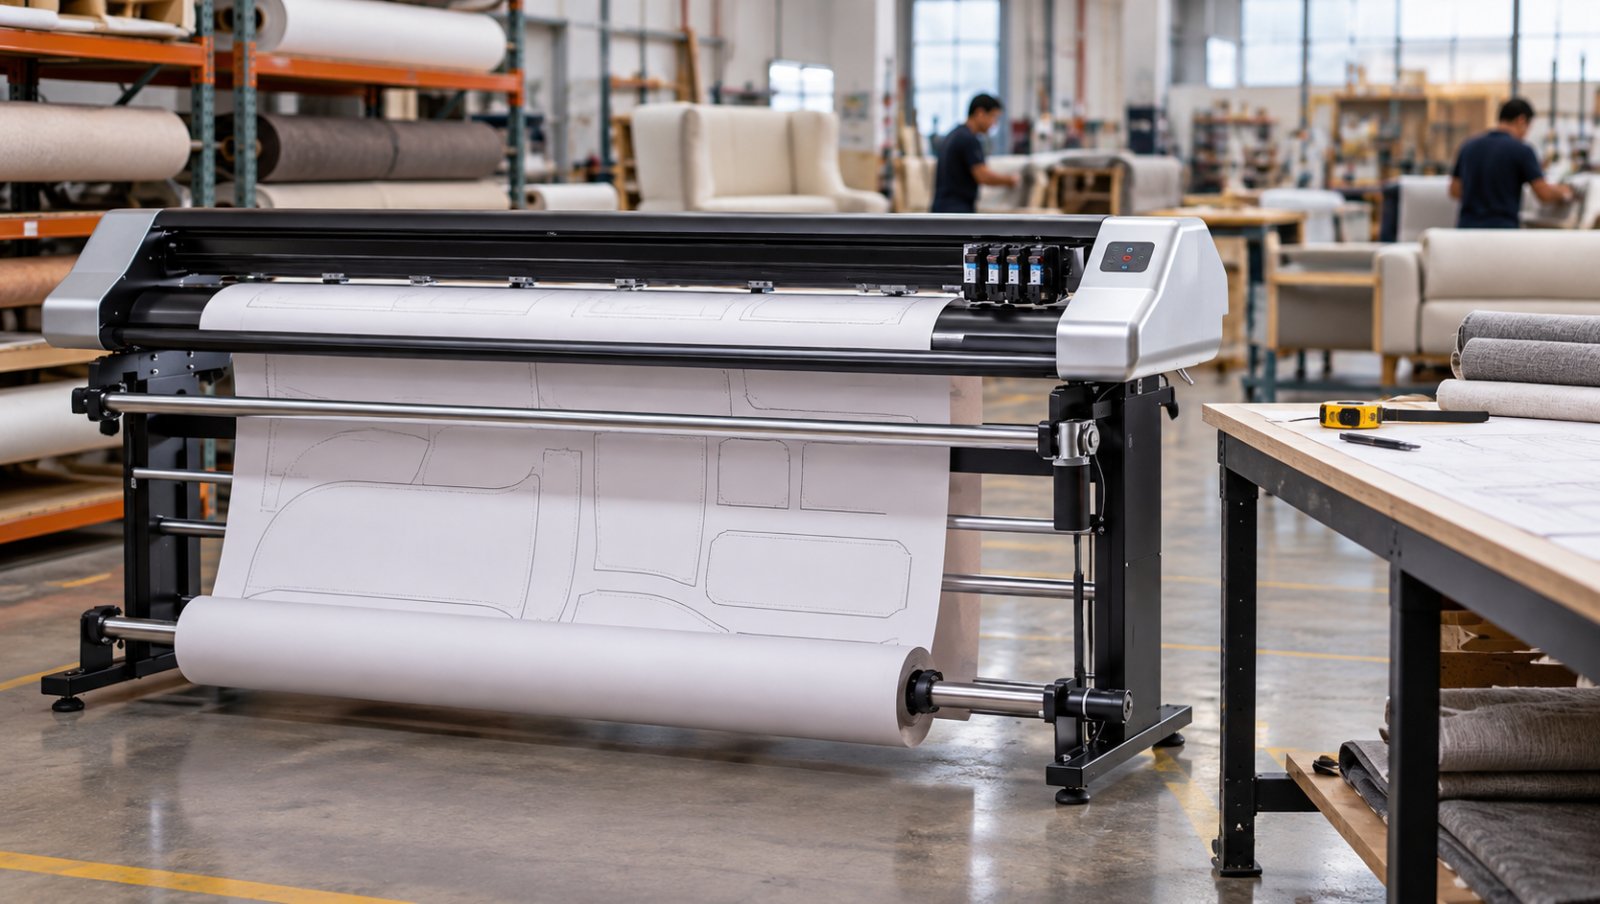
Your nesting workflow decides material yield long before the marker screen opens. Most factories lose yield not because the nesting algorithm is weak, but because the inputs are wrong: unverified patterns, missing fabric rules, or a marker approved without a reality check against the actual spread.
The Seven-Step Nesting Workflow
Run every new style through the same sequence. Skipping a step is how an efficient-looking marker turns into recuts on the floor.
- Confirm the pattern set and size break. Verify every size in the run has a complete, graded pattern; a missing piece forces a manual patch that almost always wastes material.
- Digitize paper patterns and verify geometry. A camera-based system such as the V-Shoot Camera Digitizing System exports DXF, AAMA DXF and PLT, so the geometry reaching your nesting software matches what the cutting room uses. Spot-check seam lengths and notch placement against the original.
- Enter fabric-specific constraints. Load the rules for the actual fabric on the roll, not a generic default, the step most operators rush and the one that most affects yield and quality.
- Set the marker parameters. Define marker width (tied to fabric width and selvedge allowance), piece spacing for your cutter, and the size ratio for the order.
- Generate candidate layouts. Produce multiple markers rather than accepting the first result, and compare them on efficiency and how they will actually spread.
- Validate against the spread plan. Check ply count, spread length, and table capacity; an efficient marker that is too long for your table or too wide for your fabric is not usable.
- Approve, print, and archive. Print the approved marker full size on a plotter and save the marker file with the fabric and constraint set attached so the next run starts from a known baseline.
Fabric-Specific Nesting Constraints
Every fabric nests differently, and the constraints matter as much as the algorithm. Build these rules into every marker, and revisit them whenever you switch fabric.

- Grainline. Most pieces must run parallel to the selvedge. Allowable rotation is usually zero for woven main bodies and limited for trims. Ignoring grainline saves material on paper and ruins the garment in wear.
- Nap and pile. Velvet, corduroy, fleece, and similar fabrics have a direction. All pieces must face the same way, which effectively removes 180-degree rotation and lowers achievable efficiency. Plan for it rather than fighting it.
- Stretch fabrics. Knits and stretch wovens deform when pulled. Automated nesting that ignores this can produce inaccurate pieces. Research in ScienceDirect’s study on strong optimization for fabric nesting notes that cutting in flexible manufacturing faces uncertainty from pulling-induced stretching, which is why constraints matter as much as the algorithm. Add a stretch allowance and test the marker on a short spread before committing to a full run.
Validate Before You Commit
Before a marker goes to the cutting table, cut one or two plies and check piece accuracy, grainline, and pattern alignment against the marker. If the test spread shows drift or misalignment, fix the constraint set before the full run.
For pattern design, grading, and marker making in one place, our VetiGraph CAD Software for Nesting and Marker Making: Complete 2026 Guide walks through how the software handles these constraints, and the Vetigraph CAD and nesting product page shows the tool itself.

Step 3: Compare Manual Nesting with Automated Nesting Software
Manual nesting typically lands at 15-20% fabric waste, according to Velocity Plotters’ guide to garment pattern nesting best practices.
Automated nesting software tests many layouts quickly, rotating, flipping and grouping pieces to raise material yield, then hands you a marker you can review rather than build from scratch.
|
Factor |
Manual Nesting |
Automated Nesting Software |
|---|---|---|
|
Typical waste |
15-20% |
Lower, with tuning |
|
Speed per marker |
Hours |
Minutes |
|
Consistency across operators |
Varies widely |
Repeatable |
|
Best for |
One-off and unusual layouts |
Repeat production runs |
The honest limitation: automation is only as good as your constraints and pattern data.
Once the marker is approved, print it full size on a plotter and cut it. For single-ply production, the ProCut-X single-ply cutter handles fabric, leather, foam and other materials with interchangeable tools.
Step 4: Measure Fabric Use Rates and Marker Efficiency
Track two numbers on every run: marker efficiency and fabric use rate. The first tells you how well the marker is laid out; the second tells you what actually left the roll. You need both, because a marker can score well and still lose material to spread ends and end-of-roll remnants.
The Formulas
Use consistent units, square inches, square feet, or square yards, and apply the same unit to every style so comparisons are fair.
Vetigraph – CAD Design and Nesting →
- Marker efficiency (%) = (total area of pattern pieces in the marker ÷ total marker area) × 100, where marker area is marker width × marker length.
- Fabric utilization (%) = (fabric consumed in finished, accepted pieces ÷ fabric issued to the run) × 100. This captures spread losses, end-of-roll remnants, and recuts that marker efficiency hides.
- Waste percentage (%) = 100 − fabric utilization.
A Worked Example
Suppose a marker is 60 inches wide and 180 inches long. Marker area is 10,800 square inches.
- Marker efficiency = 8,640 ÷ 10,800 × 100 = 80%.
Now suppose the run issues 1,200 square yards of fabric and produces 950 accepted units, with 60 units rejected for defects and recuts.
- Fabric utilization = 960 ÷ 1,200 × 100 = 80%.
- Waste percentage = 20%.
If the fabric costs a given amount per square yard, material cost per accepted unit is (1,200 × cost per square yard) ÷ 950.
What to Track, and How Often
Log these per style, per fabric, and per operator:
- Marker efficiency percentage
- Fabric issued versus fabric consumed in accepted pieces
- Offcut weight or area per run
Review weekly, comparing styles against each other and against their own history. A style that drifts from 82% to 78% utilization is telling you something changed, a new fabric, a new operator, or a dropped constraint.
Common Measurement Traps
- Mixing units. Square inches in the marker and square yards on the roll is the most common source of false comparisons. Convert once, at the start.
- Counting issued fabric as consumed. Fabric issued includes remnants and defects. Utilization must use accepted output, or the number flatters the operation.
- Ignoring recuts. Recuts consume fabric twice, once for the failed piece and once for the replacement. Log them separately so they do not disappear into the average.
Set a target per fabric family, review weekly, and use the numbers to decide where to spend nesting effort next.
Step 5: Connect Nesting to Cutting, Stacking and Production Planning
Nesting does not live alone. Stacking height, cutting accuracy and production planning all feed back into how much material you actually save.
A marker designed for a 40-ply spread behaves differently from one cut single-ply. Plan your spreads around the nesting output, not after it.
Tie the workflow together:
- Nest in CAD with real fabric constraints
- Print the approved marker full size on a plotter such as the Tecnica One or Vector series
- Cut on a machine matched to your spread type
This closes the loop. Each run gives the next one better data, and material waste trends down instead of resetting.
Request a Free Material Test Cut or Pattern Digitizing Sample
The fastest way to know what fabric nesting will save you is to test it on your own material. We offer free material test cuts and pattern digitizing samples so you can see the output before committing to anything.
Send us a fabric sample or a paper pattern. We will run it through the workflow and show you the result. Reach out through our contact page to get started.
Frequently Asked Questions
What is fabric nesting in manufacturing?
Fabric nesting is the process of arranging pattern pieces on a marker so they fit as tightly as possible before cutting. The goal is to use the least fabric while keeping grain lines, stretch direction and matching requirements correct. Manual nesting often leaves a meaningful share of fabric as waste. A well-optimized marker uses fabric more efficiently, which directly lowers cost per unit and scrap.
How does automated nesting software reduce material waste?
Automated nesting software tests many piece arrangements, rotations and flips in seconds, then selects the layout with the highest yield. Software such as Vetigraph also handles striped, plaid and printed fabric matching with distortion compensation, so you save fabric without breaking pattern alignment.
What are the benefits of using CAD software for pattern nesting?
CAD software keeps pattern data accurate from grading through marker making, so every size nests from the same verified geometry. It lets you simulate layouts before committing fabric, store proven markers for repeat production runs, and export PLT or HPGL files straight to a plotter. That removes manual re-drawing errors and makes fabric consumption predictable. It also supports 3D simulation and pre-production arrangement of patterns to minimize waste, as MedWaves noted in 2025.
How can I improve fabric utilization in my production line?
Start by auditing waste by source: offcuts, end-of-roll remnants, defects and cutting errors. Then tighten marker making with automated nesting software, set fabric-specific constraints for stretch and matching, and measure marker efficiency per style. Planning production runs by fabric width and color reduces leftover fabric, and a computerized cutter such as ProCut-X or ProCut XL holds the nested layout accurately. Tracking KPIs alongside nesting changes helps you see which adjustments actually reduce waste.
Your cutting room is probably losing more material than you think, and the fix starts with one honest audit. Velocity Plotters supplies the full pattern-to-production workflow, from V-Shoot digitizing and Vetigraph nesting software to Tecnica One and Vector plotters and ProCut-X and ProCut XL cutters, with installation, training and support behind every one. Get started with Velocity Plotters and turn your next marker into measurable material savings.



 EN_US
 ES