
Tabla de Contenidos
- Why Manual Apparel Cutting Workflows Hit a Ceiling
- Step 1: Map Your Current Cutting Room Workflow
- Step 2: Assess Readiness and Select Fabric Cutting Tools and Equipment
- Step 3: Build the Business Case With Implementation Costs and ROI
- Step 4: Phase In Automation Without Stopping Production
- Step 5: Train Your Cutting Room Team Through the Transition
- Step 6: Measure Apparel Cutting Room Efficiency After Go-Live
- Step 7: Track Cutting Room Productivity Metrics That Matter
- Preguntas Frecuentes
Last Updated: October 13, 2026
Why Manual Apparel Cutting Workflows Hit a Ceiling
Most cutting rooms don’t fail loudly, they slow down, one inefficiency at a time, until the plant feels stuck.
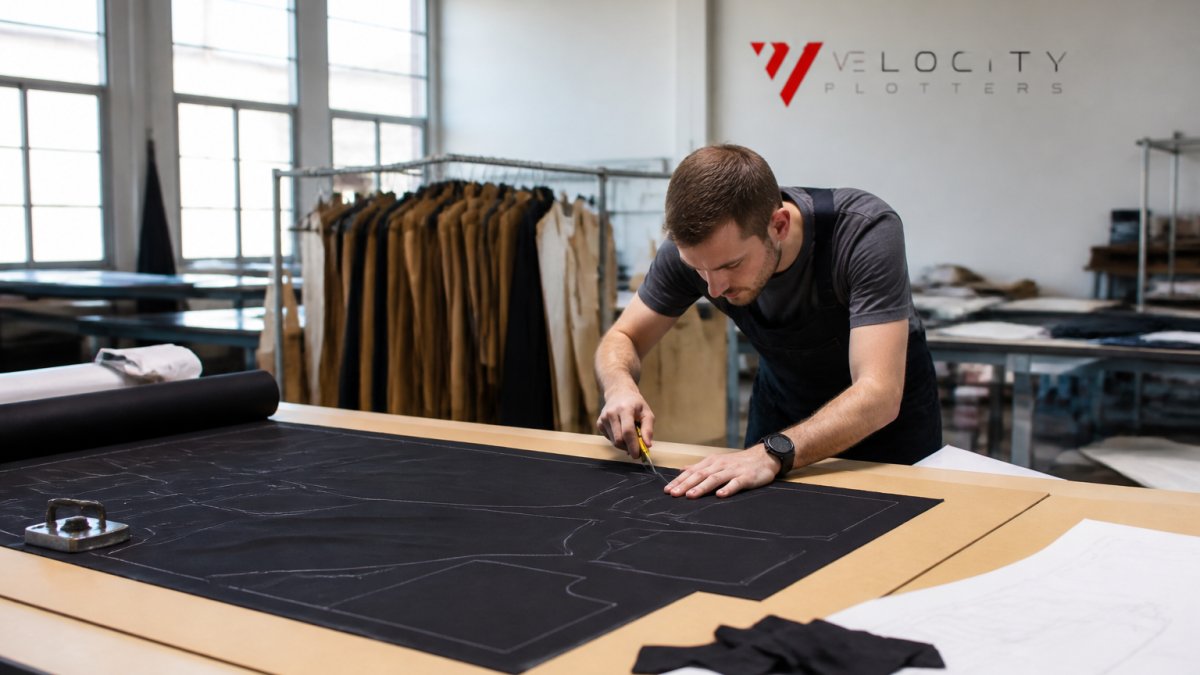
Manual apparel cutting workflows hit a ceiling because they depend on human pacing, hand-eye coordination, and paper-based planning, none of which scale.
We work with production teams across fashion, automotive, and furniture manufacturing.
Below is a seven-step roadmap for modernizing those workflows without shutting down production.
Manual cutting caps your throughput at the speed of your slowest operator. Automation removes that cap by handling spreading, marking, and cutting with repeatable precision.
Step 1: Map Your Current Cutting Room Workflow
Start by writing down every step from fabric roll to cut bundle. You can’t fix what you haven’t measured.

Walk the floor with a clipboard or tablet. Track how long each task takes, who does it, and where work piles up.
Document these stages:
- Fabric receiving and inspection
- Spreading and feeding
- Manual or automated cutting
Skipping this step and jumping straight to equipment shopping is how plants end up with tools that don’t fit their process.
Step 2: Assess Readiness and Select Fabric Cutting Tools and Equipment
Readiness comes down to three things: space, power, and data.
Check your floor layout first, automated cutting tables need clearance, stable flooring, and clean power. Then look at your digital files: if patterns still live on paper, digitize them before any system can use them.
When comparing fabric cutting tools and equipment, weigh these factors:
| Factor | What to Check | Why It Matters |
|---|---|---|
| Material range | Leather, canvas, technical textiles | Avoids custom tweaks later |
| Cutting accuracy | Tolerance in millimeters | Reduces rework and waste |
| Software fit | CAD, ERP integration | Keeps planning connected |
| Throughput | Layers per hour | Matches your order volume |
| Soporte | Response time, spare parts | Prevents production stalls |
OSHA machine guarding standards for industrial equipment apply to any new cutting hardware you install, so build compliance into your selection criteria early.
Buying a system that only handles one fabric type is the most expensive mistake in this category. If you cut leather, canvas, and technical textiles, confirm multi-material capability before you sign.
Step 3: Build the Business Case With Implementation Costs and ROI
ROI in cutting room automation comes from three places: less waste, faster throughput, and lower labor hours per unit. Here’s a structure for a defensible case, including the cost categories vendors rarely put in the first quote.
What you are actually buying
A cutting system is not one line item. Budget across these categories:
- Capital equipment, the cutting table or plotter, vacuum or hold-down system, and controller. Vendors quote this first, but it’s usually the smallest part of the total.
- Software and licensing, CAD/CAM seats, nesting or marker-making modules, and subscriptions. Ask whether the license is perpetual or renewable; five-year costs differ sharply.
- Installation and commissioning, rigging, floor prep, power drops, compressed air if required, and on-site calibration. In older buildings, floor-leveling and electrical work can rival the equipment cost.
The four numbers that drive payback
You don’t need a financial model to sanity-check a purchase, just four numbers from your floor:
- Fabric waste percentage, the share of fabric bought that never becomes a sellable piece. Pull this from purchasing and cutting records.
- Labor hours per cut bundle, total cutting-room labor hours divided by bundles produced in the same period.
- Rework rate, the share of cut bundles that need recutting, patching, or replacement because of cutting errors.
- Overtime hours per month, the hours you pay at premium rates to hit deadlines.
Now apply conservative improvements. If waste drops from 12% to 10%, that 2-point gain times annual fabric spend is your fabric savings. If labor hours per bundle drop 15%, multiply saved hours by your fully loaded hourly rate. Add the overtime reduction, that total is your annual benefit.
A simple payback test
Divide your total first-year cost (capital plus installation plus digitizing plus training) by your annual benefit to get payback in years. In small and mid-sized plants, fabric savings alone often cover a meaningful share of the benefit, with labor and overtime making up the rest, which is why plants cutting expensive or technical fabrics often see faster payback than those cutting commodity cotton.
Run the math three ways: pessimistic, realistic, and optimistic. If the pessimistic case still pays back inside your company’s normal capital threshold, the case is strong. If it only works optimistically, you’re overestimating the improvement.
Total cost of ownership over five years
First-year cost isn’t the whole story. Build a five-year view including:
- Annual software subscription or support fees
- Consumables and wear parts
- Service contract after warranty
A lower sticker price with high consumable costs can cost more over five years than a pricier system with cheaper blades and longer service intervals. Ask every vendor for a five-year consumable estimate in writing.
A quote that excludes installation, pattern digitizing, and consumables is not a price, it is a down payment. Ask for the all-in first-year number and the five-year total before you compare vendors.
Phased quoting
Ask vendors to quote in phases: one table or product line first, with second-phase pricing held for a defined period. This proves ROI on a smaller spend before committing the full capital budget, and gives you real post-installation numbers before phase two.
Step 4: Phase In Automation Without Stopping Production
Never rip out your manual process on day one. Run both systems in parallel.
Start with one product line or one fabric type. Keep your manual table active for everything else, so your team learns the new system without risking delivery deadlines.
A practical phasing plan:
- Pick a low-risk style with steady demand
- Run the automated system alongside manual cutting
- Compare output, waste, and quality for two weeks
- Expand to the next product family
- Retire manual steps only when the new process proves stable
This protects throughput while the team builds confidence, and gives you real data for the next phase.
Step 5: Train Your Cutting Room Team Through the Transition
Training is where most automation projects quietly fail. Budget for it the same way you budget for hardware.
Your operators already understand fabric behavior, grain lines, and tension. What they need is software fluency and confidence with the new equipment.
Cover these areas:
- Loading and aligning fabric on the automated table
- Reading digital markers and adjusting nesting
- Running quality checks on the first cut layer
Pair experienced operators with less confident ones. Peer training sticks better than manuals. And keep a support line open during your first live production runs.
Assign one operator as your internal “system lead.” That person becomes the go-to for questions, which cuts your dependency on vendor support and speeds up adoption across shifts.
Step 6: Measure Apparel Cutting Room Efficiency After Go-Live
Apparel cutting room efficiency is the ratio of usable cut pieces to the resources you spent producing them. Measure it monthly against the baseline you captured in Step 1, not a vendor’s demo numbers.
How to capture each metric consistently
A metric is only useful if two people measuring it get the same answer. Define each one before you start:
- Time to cut a standard bundle, start the clock when the first layer of fabric is laid and stop when the bundle is labeled and ready for sewing. Include spreading and marker setup, not just the cutting pass. Measure the same style every time.
- Fabric use percentage per marker, usable area of cut pieces divided by total fabric consumed, including end-of-roll waste and defects removed. Pull this from your nesting software, not a hand count.
- Rework rate from cutting errors, bundles requiring recut, patch, or replacement divided by total bundles cut in the period. Log the reason for every rework to see whether errors cluster around a fabric, a style, or a shift.
Set a baseline before you switch over
Run these four metrics for at least two weeks on your manual process before go-live. Without a baseline, every post-installation number is an opinion. Record it on the same form you’ll use afterward so the comparison is apples to apples.
Quality control checks that catch problems early
Efficiency gains are worthless if accuracy drops. Build these checks into the daily routine:
- First-layer inspection, inspect the top layer of every new marker before the full cut. Most nesting errors show up in the first few pieces.
- Dimensional spot check, measure a sample of pieces against the pattern spec at a defined interval (for example, every tenth bundle). Record the deviation.
- Notch and drill verification, confirm notches, drill holes, and grain-line marks land where the sewing floor expects them. Misplaced notches cause assembly errors blamed on sewing.
Safety procedures for automated cutting equipment
Automated tables introduce hazards manual tables do not have. Build these into your standard work:
- Lockout/tagout procedures for blade changes, jam clearing, and maintenance
- Guarding and light curtains around the cutting head and gantry, consistent with machine-guarding requirements for industrial equipment
- Blade-handling training for anyone who changes or inspects cutting tools
Reading the numbers
Compare each metric to baseline monthly. If a number isn’t moving, investigate before scaling to the next product line. Look for these patterns:
- Fabric use improves but rework rises, the nesting is tighter than the fabric can tolerate. Loosen the marker or slow the cut.
- Cycle time drops but operator hours per unit holds flat, labor moved into setup or maintenance rather than being eliminated. Look at changeover time.
- Rework clusters on one shift, a training gap, not an equipment problem.
NIST manufacturing extension resources on process improvement offer free guidance on measuring production gains in small and mid-sized plants.
A metric you cannot reproduce is not a metric. Define it, baseline it, and check it monthly, then let the trend, not a single reading, drive your next decision.
Step 7: Track Cutting Room Productivity Metrics That Matter
Cutting room productivity metrics should tie directly to business outcomes: cost per unit, on-time delivery, and material waste. Vanity numbers like “cuts per day” don’t tell you whether you’re more profitable.
Focus on a small dashboard your team can act on:
| Métrica | What It Tells You | Target Direction |
|---|---|---|
| Fabric use | Waste reduction progress | Up |
| Cycle time per bundle | Throughput speed | Down |
| Rework rate | Cutting accuracy | Down |
| Labor hours per unit | Productivity gain | Down |
| On-time delivery | Process reliability | Up |
Review these weekly with your cutting room lead. Small, consistent improvements compound faster than one big overhaul.
The best modernization roadmap isn’t the fastest one. It’s the one your team can sustain, measure, and improve month after month.
Modernizing manual apparel cutting workflows is a phased job, not a single purchase.
Preguntas Frecuentes
How can apparel manufacturers improve manual cutting workflows?
Start by mapping every step from fabric spreading through final cut bundles to find where time and material are lost. Most manual cutting rooms lose efficiency at spreading, marker alignment, and re-cutting errors. Introducing digital marker making, a cutting table upgrade, and simple tracking sheets for cycle time gives you measurable baselines. From there, phase in automated or AI-controlled cutting one process at a time so production never stops. The goal is to reduce repetitive manual tasks while keeping your experienced operators focused on quality checks and exception handling.
What are the main steps in an apparel cutting room workflow?
A standard cutting room workflow runs: fabric receiving and inspection, fabric spreading, marker making and pattern planning, cutting, bundling and ticketing, and handoff to sewing. Each step has its own bottleneck risk. Spreading and marker making typically drive fabric utilization, while cutting drives accuracy and throughput. Mapping these steps on a whiteboard with your operators is the fastest way to see where manual labor creates delays, rework, or wasted material before you invest in new fabric cutting tools and equipment.
How can a cutting room reduce fabric waste?
Fabric cutting waste reduction comes from three levers: tighter marker nesting, more accurate cutting that avoids re-cuts, and better spreading tension control. Digital marker making typically improves fabric utilization by several percentage points versus manual marking, and automated cutting holds pattern accuracy so fewer pieces are scrapped. Track your waste percentage per style and per material so you can see which lever moves the needle. Even a small reduction in waste on high-cost materials like leather or technical textiles pays back quickly.
How should manufacturers measure cutting room productivity metrics?
Track four core cutting room productivity metrics: units cut per labor hour, fabric utilization percentage, cycle time from spread to bundle, and re-cut or reject rate. Add a fifth if you run multiple materials: changeover time between styles. Record these weekly and post them where the team can see them. Before-and-after benchmarks are what justify further investment and show your operators that the new equipment is actually helping. Without baselines, you cannot prove ROI or spot which step still needs attention.




 ES
ES  EN_US
EN_US