
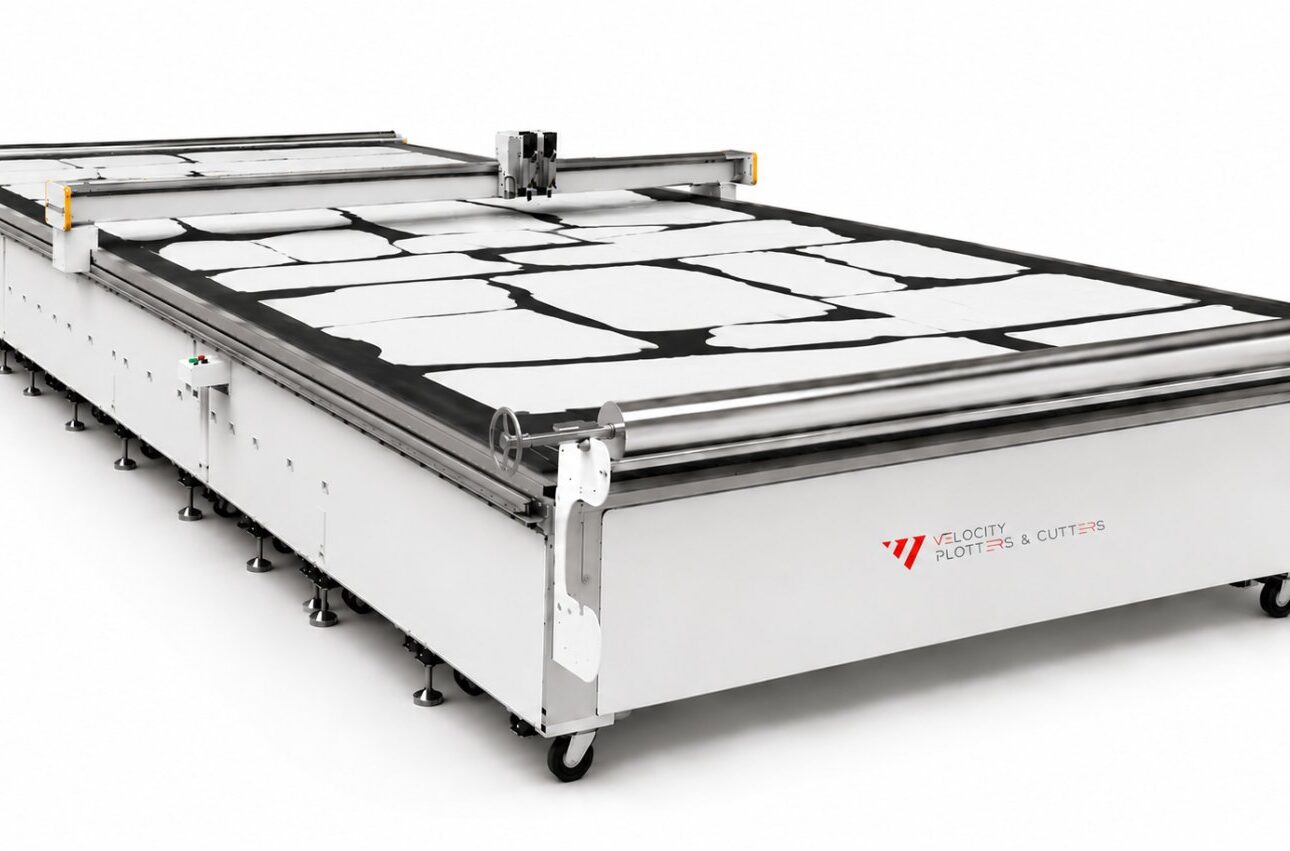
Last Updated: October 23, 2026
Resumen rápido
Garment pattern nesting is the process of arranging pattern pieces on fabric to minimize waste and maximize material use during cutting. Effective nesting requires careful attention to grainline direction, seam allowances, and piece positioning, with validation before cutting to ensure efficiency translates to usable garments.
- Standard seam allowances range from 0.5 inches to 1 inch depending on garment type and construction method.
- Most pattern pieces must be cut with grainline running vertically or at a specified angle to prevent poor hanging and uneven stretching.
- Traditional manual nesting often results in fabric waste rates between 15-20% that can be reduced through optimization.
- Always validate markers on scrap fabric before cutting production fabric to prevent waste and production delays.
- Hybrid approaches combining experienced pattern makers with software optimization balance human judgment and computational power effectively.
Tabla de Contenidos
- ¿Qué es el empalme de patrones de ropa y por qué es importante?
- Entendiendo los fundamentos de la fabricación de marcadores de ropa
- Guía paso a paso para crear patrones de ropa con nudos
- Optimización de la corte de telas para la eficiencia de la producción
- Grado de patrón y agrupación en varios tamaños
- Maximizar el uso de la tela en la fabricación de prendas de vestir
- Flujos de trabajo manuales versus automatizados para la nidificación
- Errores comunes en el nido y cómo evitarlos
- Preguntas Frecuentes
¿Qué es el empalme de patrones de ropa y por qué es importante?
La nidificación de los patrones de ropa es el proceso de organizar los elementos de diseño en la tela para minimizar el desperdicio y maximizar el uso del material durante el corte.
Most manufacturers lose material without realizing it. Pattern pieces get positioned poorly. Fabric gets wasted. The costs add up fast. Nesting done right cuts those losses significantly.
Think of it like a puzzle. You have a fixed amount of fabric. You need to fit every pattern piece onto it with minimal scraps left over.
Why does this matter now? In 2026, pattern making remains the fashion industry’s biggest bottleneck, with brands facing significant challenges related to long development cycles and a shortage of skilled pattern makers. FashionInsta AI’s analysis of 2026 pattern-making challenges identifies nesting efficiency as a critical factor in solving this problem.
The stakes are real. Traditional manual nesting often results in substantial Residuos de tela. Algorithmic optimization and proper technique can change that equation dramatically.
Entendiendo los fundamentos de la fabricación de marcadores de ropa
Marker making is the technical foundation that enables effective garment pattern nesting. A marker is the actual layout of all pattern pieces on fabric, drawn at full scale. It’s your cutting guide.
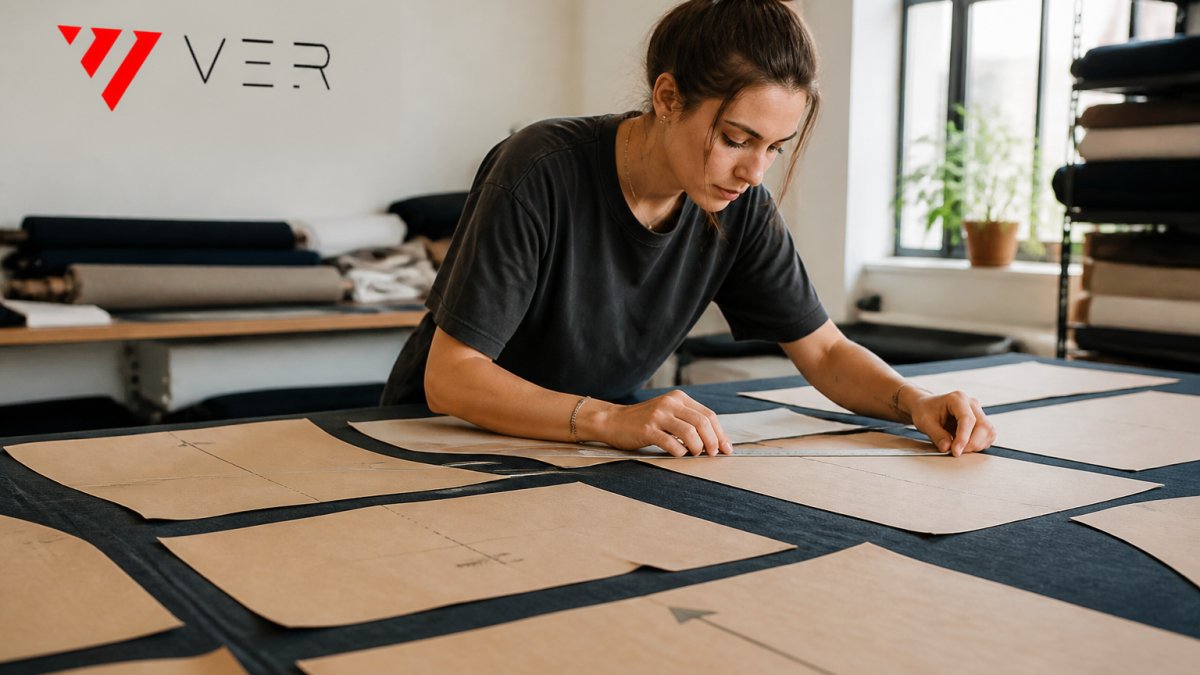
The marker serves two purposes. First, it shows cutters exactly where to cut. Second, it determines how much fabric you’ll waste. A poorly made marker wastes material. A well-made marker saves money on every single cut.
According to research in the Journal of Textile Engineering & Fashion Technology published by MedCrave, seam-allowance values are crucial inputs because pattern nesting is highly influenced by the cutting perimeter. This means every millimeter matters.
The Role of Seam Allowances in Nesting
Seam allowances are the extra fabric beyond the actual garment edge. They’re essential for stitching. But they also affect how tightly you can nest pattern pieces.
Standard seam allowances range from 0.5 inches to 1 inch depending on garment type and construction method. Here’s the tension: larger seam allowances are safer for construction but create bigger gaps between pattern pieces during nesting. Smaller allowances save fabric but require more precision during cutting and sewing.
When you’re planning your marker layout, account for seam allowances first. They determine the actual footprint of each pattern piece. Miss this step and your marker will be inaccurate before you even start arranging pieces.
Pattern Alignment and Grainline Considerations
The grainline is the direction of the fabric’s weave. It runs parallel to the selvage edges. Respecting grainline is non-negotiable in garment construction.
Most pattern pieces must be cut with the grainline running vertically (or at a specified angle). Ignoring grainline causes garments to hang poorly, stretch unevenly, and fail faster.
Here’s the practical reality: you can’t rotate every pattern piece to fit perfectly. You’re limited by grainline requirements. This means your marker layout must work within those constraints.
Guía paso a paso para crear patrones de ropa con nudos
La nidificación eficaz de patrones de ropa se realiza siguiendo un proceso repetible. Cada paso se basa en el anterior. Si se omite un paso, la eficiencia se verá afectada.
Step 1: Prepare Your Pattern Pieces and Fabric
Start by gathering all pattern pieces for a single style and size. Organize them by type: fronts, backs, sleeves, collars, facings. Having everything visible helps you plan the layout.
Next, prepare your fabric. Inspect it for defects. Note any flaws or variations. Fold it according to how it will be cut. Most fabrics are folded lengthwise (right sides together) to maximize efficiency.
Check your pattern pieces for accuracy. Make sure all markings are clear. Verify that seam allowances are included. Measure key dimensions to confirm they match your specifications.
Step 2: Analyze Grainline Direction and Fabric Properties
Different fabrics require different nesting approaches. Knit fabrics stretch. Woven fabrics don’t. Technical fabrics have directional properties. Natural fabrics behave differently than synthetics.
Identify the grainline direction for your fabric. Mark it clearly on your layout. Most pieces need grainline running vertically. Some pieces (like bias-cut skirts) intentionally use different angles, but these are exceptions.
Check for fabric nap. Napped fabrics have a visible direction when you run your hand across them. Velvet, corduroy, and some knits have nap. All pattern pieces must face the same direction on napped fabric, which reduces your nesting efficiency but ensures color consistency.
Step 3: Position Pattern Pieces on the Layout
Begin with your largest pieces. Place them first. They’re harder to fit, so position them when you have the most space.
Arrange pieces as tightly as possible without violating grainline requirements. Leave minimal space between pieces. The gaps between pieces become waste, so every millimeter counts.
Use a marker-making approach: draw the outline of each piece on your fabric or marker paper. Research on pattern nesting determination methods published by ResearchGate documents how pattern parts are nested directly on cloth in fabricas de ropa or on paper as an alternative. Both approaches work, but paper markers let you plan before cutting, reducing errors.
Step 4: Optimize Spacing and Minimize Raw Edges
Raw edges are cut fabric edges that haven’t been finished. They’re inevitable in nesting, but you want to minimize them.
Look for opportunities to nest smaller pieces into the gaps left by larger pieces. A collar might fit perfectly in the space between two sleeve pieces.
Consider notches and openings in your pattern pieces. A neckline opening or armhole creates space that might accommodate another piece. Think three-dimensionally about how pieces can interlock.
Balance efficiency with practicality. A marker that saves 2% fabric but requires expert-level cutting precision isn’t worth it.
Step 5: Validate Your Marker Before Cutting
Before you cut a single piece of fabric, verify your marker is correct. Check every piece. Confirm grainline direction. Verify seam allowances are included. Make sure no pieces overlap.
Descubre nuestras soluciones →
Count the pieces in your marker. Compare to your bill of materials. Does the marker produce the right quantity of each piece? Missing a pattern piece or including an extra one wastes fabric and creates production delays.
Test your marker on scrap fabric first if possible. Cut one or two garments from the test layout. Verify the pieces fit together correctly. Check that finished garment dimensions match specifications.
Optimización de la corte de telas para la eficiencia de la producción
Una vez validado el marcador, la calidad de corte determina si la eficiencia de la nidificación se traduce realmente en prendas utilizables.
Use sharp cutting tools. Dull blades create ragged edges that fray excessively and require extra seam allowance to trim.
Cut in a single direction when possible. Changing direction mid-cut creates inconsistent edges. Move the fabric, not the cutting tool. This approach gives you better control and more consistent results.
Mark all notches, darts, and construction details before removing pieces from the marker. Use tailor’s chalk or fabric markers. These marks guide the sewing process and ensure pieces align correctly during assembly.
Grado de patrón y agrupación en varios tamaños
La mayoría de los artículos de vestir vienen en varios tamaños. La clasificación es el proceso de aumentar o disminuir sistemáticamente los patrones para crear diferentes tamaños.
When you grade a pattern, all pieces increase proportionally. A size medium becomes a size large by adding a consistent amount to seam lines.
Grading affects nesting because different sizes require different fabric layouts. A marker for size small uses less fabric than a marker for size large. You’ll need separate markers for each size.
Plan your grading strategy before you start nesting. Decide which sizes you’ll produce together and which you’ll cut separately. This decision affects both efficiency and fabric usage.
Maximizar el uso de la tela en la fabricación de prendas de vestir
El tejido es el coste de material más importante. Cada punto porcentual de reducción de residuos repercute directamente en la rentabilidad.
Traditional manual pattern nesting often results in significant fabric waste. Modern approaches using Envisioning’s research on zero-waste pattern nesting algorithms show that algorithmic optimization can substantially reduce this waste through advanced geometric nesting techniques.
Track your actual fabric usage. Measure how much fabric you purchase versus how much ends up in finished garments. The difference is waste. Many manufacturers find waste rates between 15-20%.
Consider using scrap fabric for smaller components. Pockets, facings, and labels might come from leftover pieces. This approach requires planning during the nesting phase but maximizes use.
Invest in technology that helps. Software tools can test thousands of layout combinations in minutes, finding arrangements humans would miss. Intelligent systems help identify optimal nesting patterns that balance efficiency with production practicality.
Flujos de trabajo manuales versus automatizados para la nidificación
Manual nesting relies on experienced pattern makers arranging pieces by hand. It’s flexible and doesn’t require software, but it’s slow and inconsistent.
Automated nesting uses software algorithms to arrange pieces. It’s faster and produces consistent results. But it requires CAD files and technical expertise to set up and maintain.
Most manufacturers use hybrid approaches. Experienced pattern makers create initial layouts. Software then optimizes those layouts or tests alternatives. This combines human judgment with computational power.
The choice depends on your production volume and complexity. High-volume, simple garments benefit from automation.
Errores comunes en el nido y cómo evitarlos
Mistake #1: Ignoring grainline requirements. Pattern makers sometimes rotate pieces to fit better without checking grainline.
Mistake #2: Overcounting available space.
Mistake #3: Forgetting about fabric defects.
Mistake #4: Using outdated markers. Fabric suppliers sometimes change fabric width or weight.
Mistake #5: Skipping the validation step. Cutting without verifying the marker first wastes fabric and creates production problems.
Mistake #6: Prioritizing nesting efficiency over garment quality.
Garment pattern nesting sits at the intersection of design precision and production reality.
The most efficient manufacturers treat nesting as a strategic process, not an afterthought. They invest in training, tools, and validation.
Preguntas Frecuentes
What is garment pattern nesting and how does it differ from regular pattern layout?
Garment pattern nesting is the process of arranging pattern pieces on fabric to minimize waste while maintaining proper alignment with grainlines and seam allowances. Unlike casual pattern placement, nesting follows specific rules: seam allowances must be precise, grainlines must match fabric direction, and pieces must account for fabric stretch and grain. Research shows traditional manual nesting often results in 15-20% fabric waste, whereas optimized nesting reduces this significantly by strategically positioning each piece to maximize usable fabric.
How do seam allowances and grainlines affect garment pattern nesting?
Seam allowances and grainlines are critical inputs for nesting accuracy. Seam-allowance values directly influence the cutting perimeter and overall pattern footprint, which affects how tightly pieces can nest together. Grainlines must align with fabric direction to ensure proper drape, stretch distribution, and garment fit. Misalignment of either element can result in distorted seams, uneven hems, and compromised structural integrity. Always verify seam allowances match your pattern guidelines and check that each piece’s grainline runs parallel to the fabric’s lengthwise grain before finalizing your marker.
Can pattern nesting be automated, or is it still a manual process?
Both manual and automated nesting workflows exist in modern production. Manual nesting requires skilled operators who arrange pieces on paper or directly on fabric, while automated solutions use CAD software and algorithmic optimization to generate markers in minutes. In 2026, industry standards emphasize digital formats like .DXF and .AI files to facilitate precise automated cutting. Automated systems reduce labor time and human error, but manual nesting remains valuable for complex, bespoke designs or smaller production runs where flexibility outweighs speed.
What are the most common mistakes to avoid when nesting garment patterns?
Common nesting mistakes include ignoring grainline alignment, miscalculating seam allowances, placing pattern pieces too close together (causing cutting errors), and failing to account for fabric properties like stretch or nap. Other errors include neglecting to validate the marker before cutting, not measuring the fullest part of the body for proper ease allowance, and overlooking pattern markings like darts or notches. Always double-check your layout against pattern instructions, verify all seams and raw edges are properly positioned, and confirm fabric direction before sending the marker to cutting equipment.




 ES
 EN_US