
Last Updated: November 17, 2026
Resumen rápido
Integrate flatbed plotter cutters by mapping your file path first, then running four phases over roughly six to eight weeks: process map, equipment and file standard, installation and training, and measure and tune. Each phase needs an owner, a deliverable, and a check you can fail before moving on.
- Walk one real order from customer file to packed cut part and record every handoff.
- Plotters read PLT/HPGL natively, so DXF and DWG files need a conversion step first.
- Train one operator per shift, not one total, with a signed competency sheet each.
- Track setup time, cycle time, utilization, first-pass yield and queue time weekly.
- Run a free material test cut on your own stock before committing to a configuration.
Tabla de Contenidos
- Production Workflow Integration: A Step-by-Step Plan
- Flatbed Cutter File Preparation: From Design Files to Cut Paths
- The CAD to Cutting Workflow: Software, Nesting, and File Handoff
- Flatbed Plotter Cutter Materials: Testing and Sample Validation
- Preguntas Frecuentes
Production Workflow Integration: A Step-by-Step Plan
Integrating flatbed plotter cutters starts with mapping the file path before you move a machine. Work backward: four phases over roughly six to eight weeks, each with an owner, a deliverable, and a check you can fail before moving on.
Phase 1, Process map (week 1). The production manager walks one real order from customer file to packed cut part and records every handoff: who receives, edits, approves, loads material, runs the machine, inspects output. Audit every format you receive, PLT, HPGL, DXF, DWG, PDF, native CAD. Deliverable: a one-page flow diagram with the flatbed plotter cutter placed at its actual point in the chain.
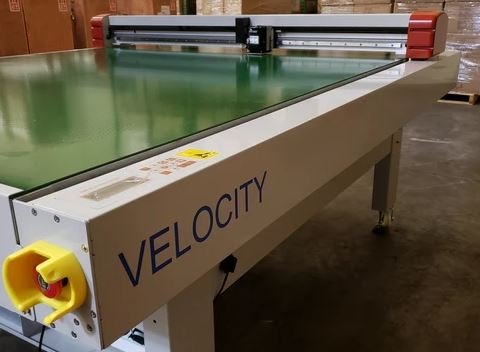
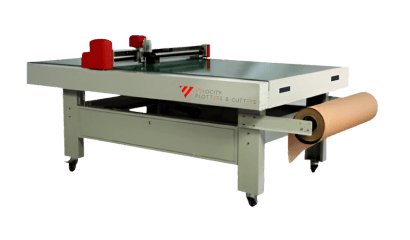
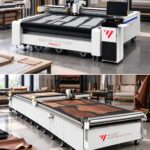
Phase 2, Equipment and file standard (weeks 2-3). Match the machine to the formats and materials you actually run. Pattern plotters such as Tecnica One, Vector One, Vector Two and Vector Four print patterns and markers on paper only; the Flatbed Plotter Cutter plots, marks and cuts paper, cardboard, PVC, plastic board, vinyl, canvas and industrial textiles; ProCut-X and ProCut XL handle single-ply and large-format automatic cutting of fabric, leather, foam and other production materials.
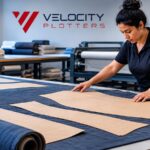
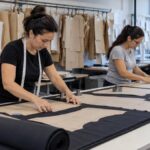
Phase 3, Installation and training (weeks 3-5). Onsite installation is available in the Los Angeles area; remote installation and training are offered elsewhere. Train one operator per shift, not one total, a single trained person becomes a bottleneck the moment they take a day off. Pair each trainee with a competency check: load material, run a test cut, change a blade, recover from a misaligned file. Deliverable: a signed competency sheet per operator per shift.
Phase 4, Measure and tune (weeks 5-8). Track five numbers weekly for the first month: setup time per job, cycle time per sheet, machine utilization, first-pass yield, and queue time waiting for files. Compare them to the Phase 1 baseline.
Before committing to a configuration, run a free material test cut on your own stock and, if you are digitizing existing patterns, request a free pattern digitizing sample through V-Shoot. Financing through TimePayment is available if the capital outlay needs to be spread. You can review the Velocity Flatbed Plotter Cutter and request a quote, or read our guide to choosing plotters and cutters for textile production for speed, precision and compatibility.
The rollout runs as four phases over roughly six to eight weeks, each with its own deliverable and check.
|
Phase |
Timing |
What to do |
Deliverable |
|---|---|---|---|
|
Phase 1, Process map |
Week 1 |
Walk one real order from customer file to packed cut part |
One-page flow diagram |
|
Phase 2, Equipment and file standard |
Weeks 2-3 |
Match machine to formats and materials actually run |
Written file-format standard and named conversion owner |
|
Phase 3, Installation and training |
Weeks 3-5 |
Train one operator per shift with a competency check |
Signed competency sheet per operator per shift |
|
Phase 4, Measure and tune |
Weeks 5-8 |
Track five numbers weekly for the first month |
Comparison to the Phase 1 baseline |
Flatbed Cutter File Preparation: From Design Files to Cut Paths
File preparation decides cut quality more than the machine does. Flatbed plotter cutters read PLT and HPGL natively, so most problems trace back to a file that was never converted properly.
Start with a clean vector file: remove duplicate lines, close open paths, and put cut lines on their own layer. Then convert:
- PLT/HPGL works directly with the plotter
- DXF and DWG need a conversion step first
- PDF artwork must be converted before plotting
Easy-Plot converts PDF, DXF and DWG files to PLT/HPGL for the plotter. You can see how Easy-Plot converts CAD files for plotting.
A common mistake is sending a file with cut paths mixed into the print layer. Separate them every time.
The CAD to Cutting Workflow: Software, Nesting, and File Handoff
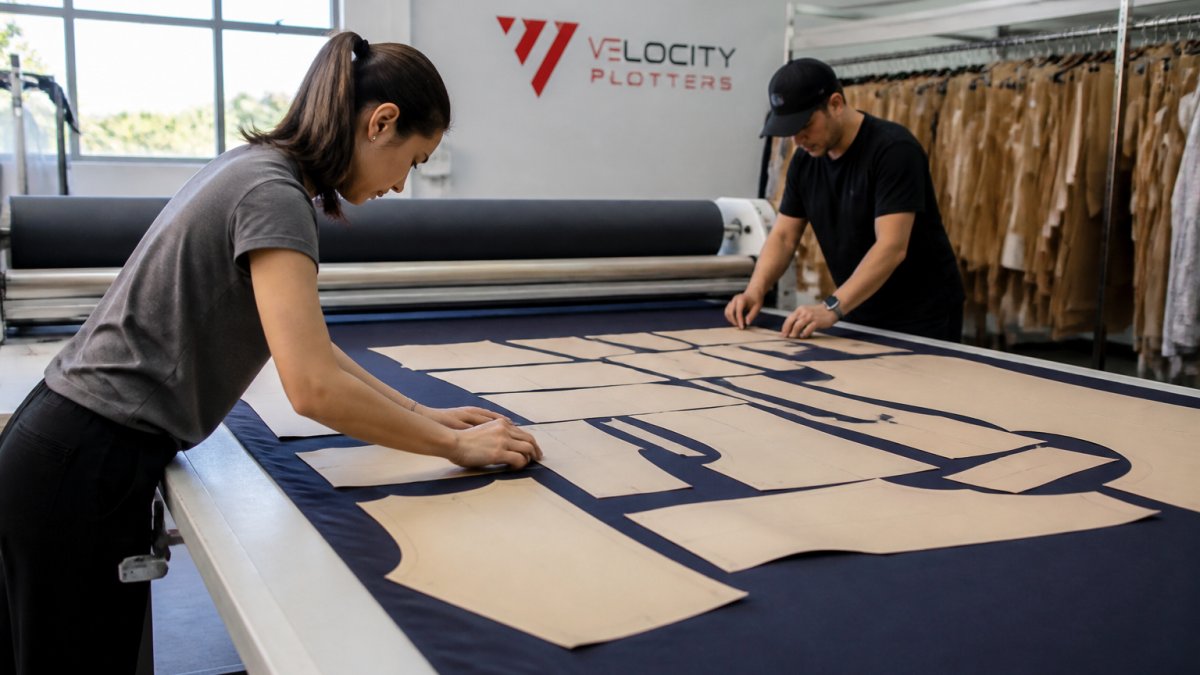
Nesting is where material savings happen, and it belongs in CAD, not at the cutter. Pattern design, grading and marker making all feed the same file that reaches the flatbed plotter cutter, and the handoff between stages is where most production errors are born, standardize it before you scale.
The handoff sequence looks like this:
- Design and grade the pattern in CAD
- Build the marker and run automatic nesting
- Export to PLT/HPGL
- Plot the marker for a paper check
- Send the same file to the cutter
Vetigraph is third-party CAD software covering pattern, grading, marker and nesting, and we sell and support it. You can explore the Vetigraph CAD solution for pattern design and nesting.
File-naming standard. Enforce one convention: style number, size range, revision letter, material code, and date, separated by underscores. ST1042_S-XL_revC_canvas_2026-11-17.plt tells the operator everything before they open it; final_final2.plt invites the wrong revision onto the bed.
Layer and cut-path standard. Keep cut paths, crease lines, mark lines and annotation on separate named layers in the source CAD file, and export only the layers the job needs. Mixing cut paths into a print or annotation layer can cause a cutter to follow a line it should not. Decide once which layer maps to which tool and document it.
Revision control. Every marker carries a revision letter. When a pattern changes, the revision increments and the previous PLT is archived, not overwritten. Operators confirm the job-ticket revision against the file name before loading material.
Job ticket. A one-page ticket per job carries style and revision, material and thickness, tool assignment, quantity, nesting yield, operator name, and inspection checkpoints. It travels with the job and is signed off at each stage, letting you trace a quality problem back to a file, a tool, or a material batch.
Where digitizing fits. If some patterns exist only on paper, V-Shoot is a camera-based pattern digitizing system that exports DXF, AAMA DXF and PLT, so digitized patterns enter the same standardized handoff as CAD-native ones. Request a free pattern digitizing sample to confirm export quality against your CAD workflow.
Watch out: if the job ticket and file name disagree on revision, stop and resolve it before cutting, a mismatched revision on a nested marker wastes the full sheet, not just one part.
Flatbed Plotter Cutter Materials: Testing and Sample Validation
Test before you commit. A free material test cut on your own canvas, vinyl or cardboard shows how the material will cut.
Validate in this order:
- Cut a small sample of each material you run
- Check edge quality and dimensional accuracy
- Confirm blade depth suits the thickness
- Repeat on a second sheet to check consistency
For technical fabrics, our article on high-precision cutting methods and setup for technical fabrics goes deeper into blade selection and material behavior. Request a free material test cut to check your material.
Bringing a flatbed plotter cutter into production is a file-and-handoff problem before it is a hardware problem. Velocity Plotters supports the full chain, from V-Shoot pattern digitizing and Vetigraph nesting to ProCut-X, ProCut XL and Flatbed cutting, with onsite installation in the Los Angeles area, remote training elsewhere and financing through TimePayment. Request a free material test cut and see how your own stock runs.
Preguntas Frecuentes
What materials can a flatbed plotter cutter process?
The Velocity Flatbed Plotter Cutter handles pattern paper, kraft paper, cardboard, PVC, rigid plastic board, vinyl, canvas, and industrial textiles. It plots, marks, scribes, perforates, and cuts in one system, which makes it useful for garment, footwear, furniture, signage, packaging, and prototyping work. The Template Cutter model adds a 24,000 RPM milling cutter for acrylic, PVC, and thick cardboard from 1 to 3 mm. Before committing, request free material test cuts with your own production materials to confirm results.
Which file formats do flatbed plotter cutters read natively?
Velocity plotters read PLT, HPGL, and HPG files natively. DXF and DWG files require an optional conversion program at extra cost. For shops moving from CAD to cutting, Easy-Plot converts DXF, DWG, and PDF files to PLT/HPGL, which keeps the file handoff consistent across pattern design, marker making, and the cutter.
When should a manufacturer use a flatbed plotter cutter instead of an automatic cutting machine?
Use a flatbed plotter cutter when you need plotting, marking, perforating, and cutting on paper, cardboard, vinyl, or rigid sheet material in one pass, especially for prototyping and short runs. Choose an automatic cutting machine such as ProCut-X or ProCut XL when the job is production fabric, leather, or foam cutting at volume. A material test cut shows which machine suits each job.

 ES
 EN_US