
Last Updated: November 15, 2026
Resumen rápido
Yes, digital tools can help you mark leather more accurately in two ways: digital calipers measure thickness and dimensions for manual marking, while a digital production workflow uses digitized patterns that are nested and plotted at full size for transfer. Both approaches reduce guesswork and improve repeatability, although the marking method must be selected carefully to avoid damaging the hide.
- Scribing creates a fine layout line, while embossing and burning are decorative techniques that permanently alter the leather.
- Test three marking pressures on scrap leather, then choose the lightest mark that remains visible.
- Anchor templates and plotted markers with weights rather than pins, since pin holes can leave permanent marks.
- V-Shoot camera digitizing exports DXF, AAMA DXF and PLT files for grading and nesting.
- Vector and Tecnica One plotters read PLT, HPGL and HPG natively; Easy-Plot converts DXF, DWG and PDF to PLT/HPGL.
Tabla de Contenidos
- What Digital Scribing Means in Leathercraft
- Leather Pattern Digitizing: Turning Paper Templates into CAD Files
- Leather Pattern Nesting: Cutting Waste Before You Cut Hides
- Leather Pattern File Formats Your Plotter and Cutter Can Read
- Request a Free Leather Test Cut Before You Buy
- Preguntas Frecuentes
What Digital Scribing Means in Leathercraft
The question of whether you can use digital tools for leather scribing comes up often, but the process can involve two different approaches in a leather shop. At Velocity Plotters, we help customers understand how digital measurement and digital pattern workflows can improve accuracy when marking and cutting leather.
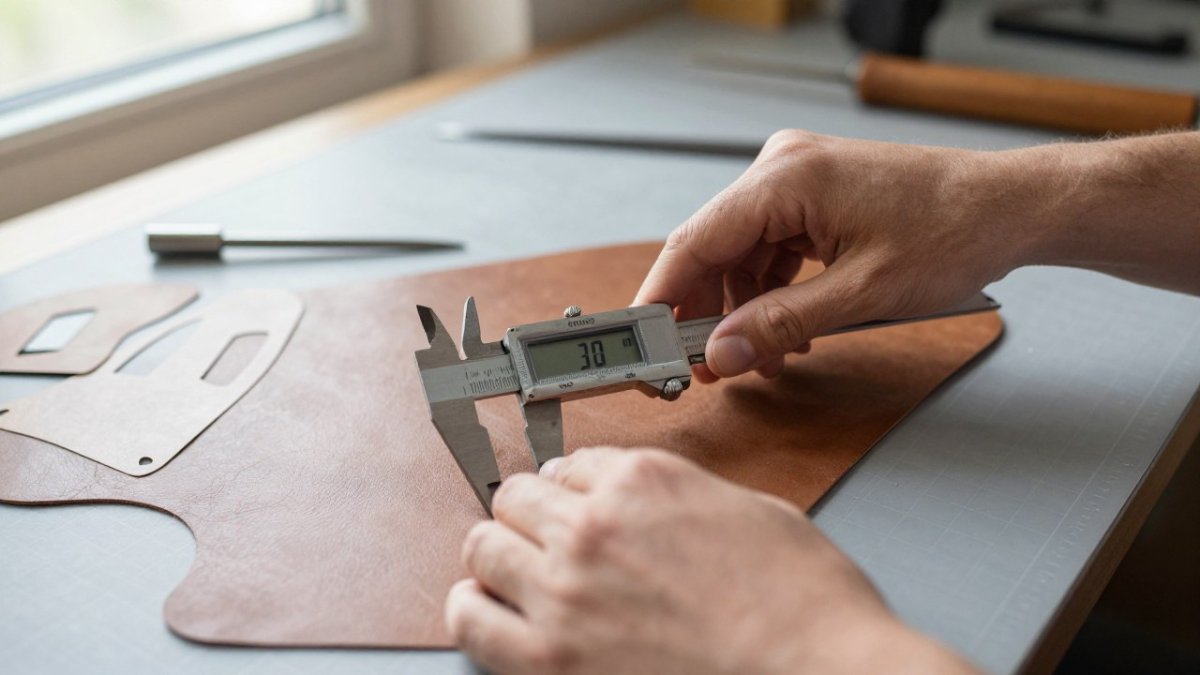
The first approach uses digital measuring tools. Digital calipers measure leather thickness and dimensions accurately, providing reference measurements that can then be used to mark the hide by hand with a metal scribe or scratch awl.
The second approach uses a digital production workflow. A physical pattern is digitized into CAD, nested to optimize material usage, plotted at full size, and then used as a reference for manual marking or sent through a compatible workflow for automatic cutting.
In this context, digital tools help define where a mark, line, or cut should fall on a leather hide. They replace guesswork and repeated manual measurements with consistent digital references.
Both approaches can improve accuracy, but the marking method still matters. Excessive pressure or an unsuitable marking tool can scratch, damage, or permanently mark the leather.
Scribing, Embossing and Burning: Know the Difference
These three get mixed up constantly, and the mix-up costs people good leather.
- Scribing creates a fine line on the leather surface using a sharp point. It is primarily a marking technique, not a decorative one.
- Embossing presses a raised or recessed design into the leather under pressure. It changes the surface permanently.
- Burning uses heat to darken or score the surface. It is decorative and difficult to undo.
Scribing is the technique among these three intended for layout marking. Keep the point sharp and the pressure light to maintain control over the line.
A common mistake is pressing too hard on the first pass. On thinner leather, a deep scribe line can weaken the material and potentially become a tear point. Start with a light mark, check the alignment, and only repeat if you need more definition.
For the full range of plotting, digitizing and cutting options we build for leather goods, see our footwear and leather goods manufacturing solutions.
Hand transfer from a paper template. You lay the template on the hide, secure it, and mark around it with a suitable marking tool.
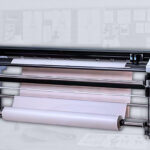
Plotted transfer from digital pattern data. The pattern is digitized into CAD, a marker is nested, and a pattern plotter prints the marker at full size on paper.
Here is what works in practice for either path:
- Test on scrap first. Use the same hide, finish and thickness. Test in an area you will not use.
- Work from the flesh side when the grain side will be visible in the finished piece and the pattern allows it.
- Choose the marking tool carefully. A metal scribe or scratch awl can create fine layout lines, but use light pressure. Avoid ordinary ink pens unless you have confirmed they are suitable for that leather.
- Anchor the template or plotted marker with weights, not pins. Pin holes can leave permanent marks.
- Mark alignment notches before you lift the template or marker, not after.
- Keep the line inside the cut allowance so a slight marking deviation still leaves material to trim.
Watch out: tracing a template with a ballpoint pen on light-colored leather can leave a mark that is difficult or impossible to remove. Test the marking method on scrap first, and keep the line inside the cut allowance.
Matching the Transfer Method to the Leather Type
Finished, unfinished, vegetable-tanned and delicate leathers respond differently to marking, so the same tool may not be suitable for all of them.
- Vegetable-tanned leather can take a fine scribe line, and slight dampening may soften the surface before marking. Test this on scrap first, because too much water can raise the grain.
- Finished or coated leather may show scratches easily, so mark on the back when the piece allows it, or test a removable marking method to confirm it can be removed without affecting the finish.
- Delicate or thin leather can be weakened by a deep scribe line, so keep pressure light and consider making two shallow passes instead of one heavy one.
- Unfinished flesh side can accept a scribe line well but may fuzz, so use a sharp point and avoid excessive pressure.
A common approach is to test three marking pressures on scrap—light, medium and firm—then choose the lightest one that remains visible. That simple habit can help prevent transfer damage.
When a Plotted Marker Beats Hand Transfer
Hand transfer becomes harder to manage when a style has many sizes or pattern pieces. Every template has to be traced, every notch marked, and any marking error can be repeated across the production run.
A plotted marker can reduce that repetition. Once the pattern is digitized, a pattern plotter such as the Tecnica One or a Vector series machine prints the full-size marker on paper, which the shop can then use as a guide for manual marking or cutting.
If you are weighing manual marking against a digital workflow, our buyer’s guide to leather cutting alternatives compares the two approaches in terms of waste, speed and setup.
Leather Pattern Digitizing: Turning Paper Templates into CAD Files
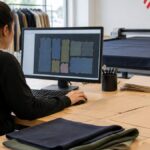
Leather pattern digitizing is the process of converting a physical pattern into a digital file that compatible CAD software can use for grading, nesting and preparation for cutting. It is an important step in building a digital production workflow.
The V-Shoot Camera Digitizing System is a camera-based pattern digitizing system that exports DXF, AAMA DXF and PLT files.
Once digitized, a pattern can be graded across sizes, nested with other pieces, and sent to a compatible plotter or cutter. The original paper template can still be kept as a physical reference.
When you are ready to see the software that handles pattern design, grading and markers, you can book a free Vetigraph demonstration.
Leather Pattern Nesting: Cutting Waste Before You Cut Hides
Nesting is where leather gets expensive or efficient, and it happens before any blade touches the material.
Hides are irregular. They can have scars, stretch zones and areas of uneven thickness. A nesting layout that ignores those characteristics can waste material, even when the pieces fit closely together.
What good leather nesting aims to do:
- Place large panels in the cleanest areas of the hide
- Group small pieces into the gaps around them
- Keep grain direction consistent across the cut
- Allow the operator to avoid scarred or thin zones when assigning pieces to different areas
Software handles the geometry. Your knowledge of the hide helps determine which areas are suitable for each pattern piece. The two together can help reduce waste.
For techniques that reduce material waste before you commit hides to the cutter, read our guide to garment pattern nesting best practices.
Leather Pattern File Formats Your Plotter and Cutter Can Read
File format is where promising workflows can stall, so check compatibility before you buy anything.
PLT and HPGL are common file formats used by pattern plotters. Our Tecnica One and Vector series plotters read PLT, HPGL and HPG directly, with no conversion step.
DXF and DWG are CAD formats. They may need conversion before they can be sent to a plotter. Easy-Plot converts DXF, DWG and PDF files to PLT/HPGL.
|
Formato |
What It Holds |
Plotter Support |
Utilización típica |
|---|---|---|---|
|
PLT / HPGL |
Plotter line data |
Native |
Printing markers |
|
DXF |
CAD geometry |
Via conversion |
Pattern exchange |
|
AAMA DXF |
Graded pattern data |
Via conversion |
Apparel and leather CAD |
|
DWG |
CAD drawing |
Via conversion |
Design files |
|
|
Fixed layout |
Via conversion |
Shared templates |
The practical rule: if your CAD exports PLT, you are ready today. If it exports DXF only, budget for the conversion step.
Request a Free Leather Test Cut Before You Buy
No specification sheet can fully determine how a machine will perform with your leather. A material test cut gives you a much clearer picture.
We offer free material test cuts so you can evaluate the results using your own material before making a purchase decision.
Here is what the test can help you evaluate:
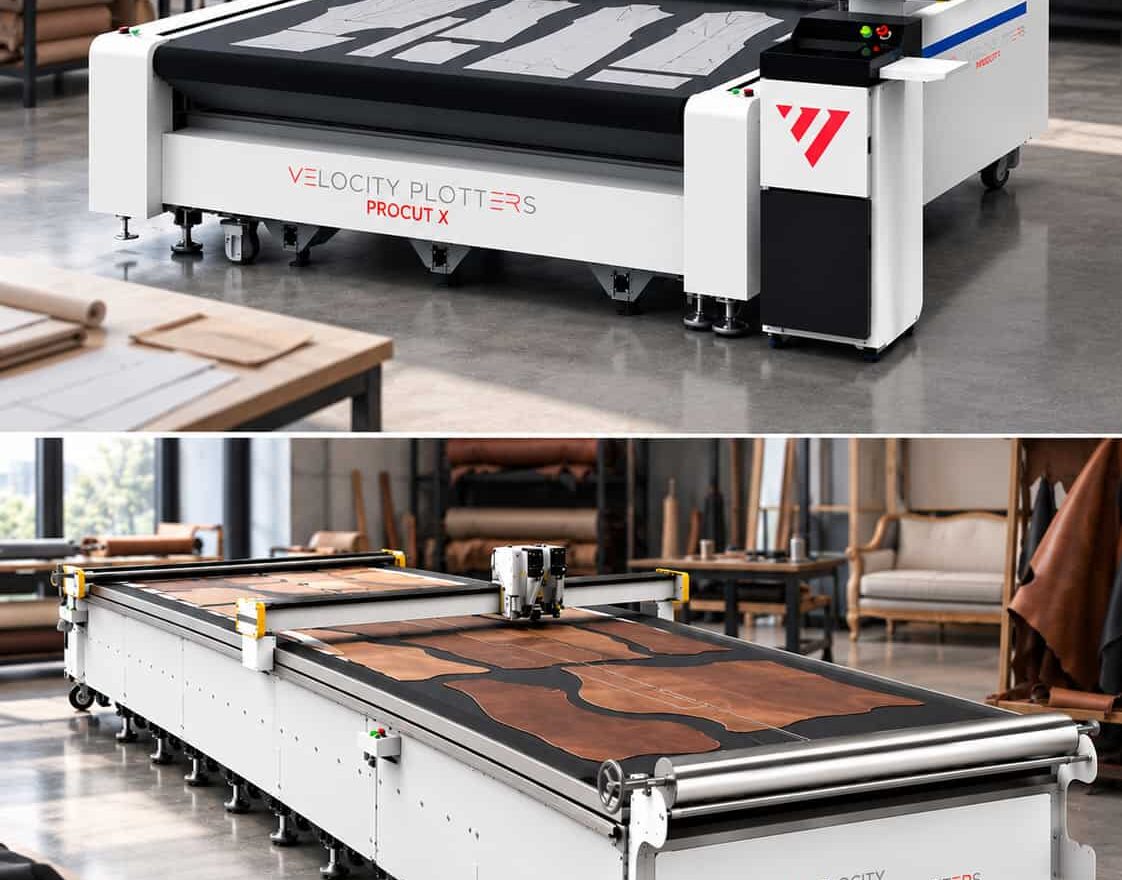
- Whether your material can be processed successfully on ProCut-X, our single-ply conveyor cutter, based on its characteristics and machine configuration
- Whether your large panels are suitable for processing on ProCut XL, our large-format cutting machine
- How the cut edge looks on your specific material and finish
- Whether your pattern files are compatible with the proposed workflow
We also offer free pattern digitizing samples.
Financing through TimePayment is available if spreading the cost of the purchase would make the investment easier to manage.
You can explore the ProCut X and ProCut XL cutting machines and request a material test cut as part of the same process.
The difference between manual marking and a digital workflow built around plotting, nesting and cutting is greater repeatability, consistency and control over the production process.
Preguntas Frecuentes
Can a plotter mark leather directly?
No. Pattern and marker plotters such as the Tecnica One and Vector series print full-size patterns and markers on paper only; they do not touch the hide. The paper marker then guides hand marking or feeds an automatic cutter. For direct cutting of leather, the ProCut-X and ProCut XL cut production materials including leather, foam and fabric. Request a free material test cut to confirm how your leather behaves.
Can digital pattern files be used to mark leather?
Yes, indirectly. Digital pattern files in PLT/HPGL, DXF or AAMA DXF drive the workflow: you nest the parts in CAD such as Vetigraph, print a full-size marker on a plotter, and use that paper marker to position and mark each hide. The file itself does not mark leather.
What is the difference between digitizing a leather pattern and marking a hide?
Digitizing captures a physical paper pattern as a digital file, which the V-Shoot camera system does by exporting DXF, AAMA DXF or PLT. Marking a hide is the shop-floor step of drawing or scribing pattern outlines and alignment points onto the leather surface. Digitizing happens once per pattern; marking happens on every hide, so accuracy in the digital file pays off across the whole production run.
What file formats are used for leather patterns?
Most leather workflows rely on PLT/HPGL for plotting because plotters read it natively, and DXF or AAMA DXF for CAD editing and cutting. If your files arrive as DXF, DWG or PDF and your plotter needs PLT, Easy-Plot converts them. Confirm the format your cutter expects before nesting, and keep one master version of each pattern to avoid mismatched dimensions between the paper marker and the cut parts.

 ES
 EN_US